(b.c. - "before cleaning")
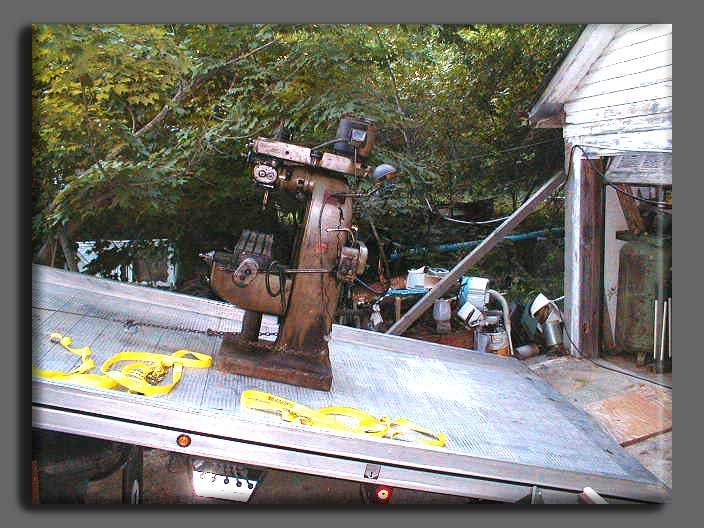
here's what it looked like coming off the
flatbed!!
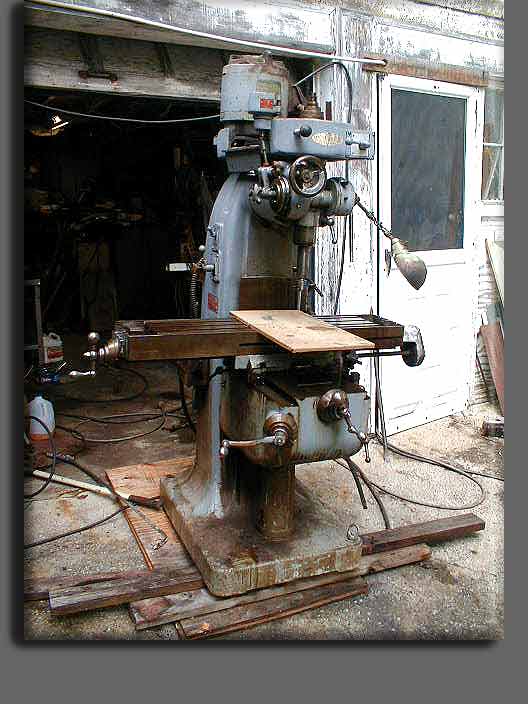
(b.c. - "before cleaning")

Here's what it looked like
with about 75% cleaning!! :- )
I used "Mean Green" spray cleaner from Familly
Dollar stores - or similar - an alkaline degreaser/cleaner formula.
What they call "wax stripper" for floor
use is the same sort of thing, and Castrol is now selling it for too much
in auto parts stores. It melts oil. No need
to scrape or rub very much...
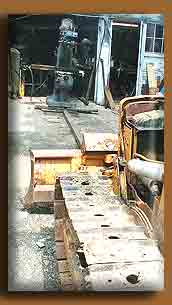
How to get a Mill up an incline?
Push it with ur 'dozer and a stick of course!!
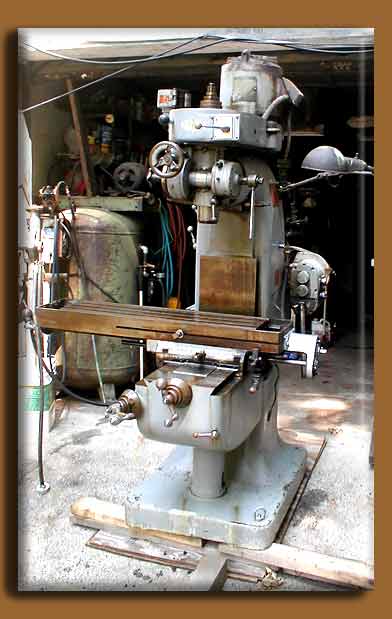
Anyhow it's in the shop now,
and gleaming! (all cleaned above)
I'm still looking for some
NEW/USED B&S #9 taper collets and tooling... got any?
email me from the main website
if you do!!
Next few days, I'll put together
a rotary phase converter for it and see how it
runs... so far everything
seems fine.
Hey! I made myself a simple
rotary converter today and ran it!! It RUNS!!
WHoopiE!!
Now if I can just figure
out why it has 0.125" of vertical endplay in the spindle...
something is funny with
the end nut I think... diagram isn't much help figuring out
how the spindle bearings
are loaded. Here's a shot of the business end, and possibly
the problem:
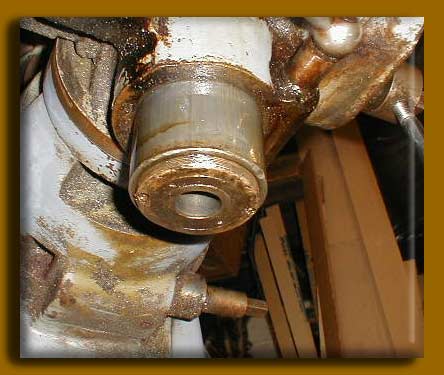
There are two sets of spanner wrench holes
seen, about 0.250" in the outer, and smaller
on the inner. The inner set rotates with
the spindle. Note the threads showing on the
outer edge. I am unsure if this is correct,
or if this outer nut is supposed to "load"
the bearings to take out the end play...
or if it takes an outer "cap" I can lift the inner
one and the spindle about 0.125" up with
a finger... (guess I didn't get all the brown
yuk off the machine yet...)
Well, today I figured it out... 8.24.01
Started by removing the brass/bronze bottom
nut (the larger holes). I made a homemade
spanner by taking some 0.375" aluminum flat
stock, drilling two undersize holes to take
a pair of tool steel 0.250" rods. Turns
out the holes were on 2.250" centers originally.
I measured it, sort of, and came up with
2.240", and built to that. Ended up putting the
aluminum spanner into the big vise and wacking
it to bend it a bit wider. Then the holes
fit but one of them was very worn. So, I
took a drill and carefully redrilled deeper - stepping
up in size slowly... this would have been
best done on a milling machine, with the piece already
OFF the machine!! HA! But, I'm fixing
the milling machine!! :- )
This made the spanner fit - it was tough
coming off until then, after the spanner fit tightly,
there was no problem turning the brass nut...
Turns out the nut was backed off, but the
previous owner probably couldn't get it off with
the holes as they were. The lower 0.125"
of the 0.500" wide threaded area was completely
bashed and dinged.
Once off, I faced the visible side slightly
on the lathe. I had wanted to take it down till smooth,
but given the bashing on it, that would
have meant taking off quite a bit more meat than I
felt comfortable with... but I got two flat
smooth areas that were 180 degrees out, so that I
could put new spanner holes in later If
I wanted to...
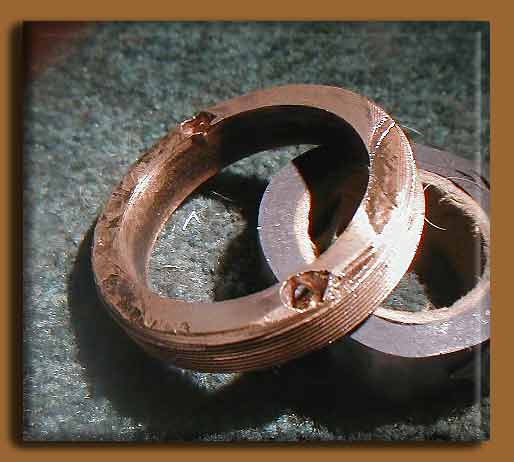
Looks like 24tpi threads on a 2.750" diameter.
I had to take about 0.125" of the threads off
with the lathe... they were beyond simple
cleaning, and I had no way to cut threads that were
synchronized with the existing threads on
my lathe - don't know if that is even possible. You can
see the lip that I cut with the lathe, it's
on the upper edge in the photo...nicely dinged
up spanner holes, eh?
I suspect this is why the guy was selling
the machine - couldn't figure out how to get the bottom
nut off or back up!! Heh, heh...
After taking off the dinged threads, the bottom nut threaded back up into the spindle just fine...
I had one flycutter with a B&S #9 on
it... so I chucked it in, and put a dial indicator on the shaft
and gulped - over 0.003" runout. But this
AM I put the indicator on the inside of the taper, and
it runs super true, nil runout, no indication!
So, I'm a happy camper... all the vertical play gone,
and it looks like it's running true...
Next on to the bent table power feed shaft!!